Skip to product information
1 of 3

Ozroll

E-Port Wallplate Conversion Plate 15.551.002

E-Port Wallplate Conversion Plate 15.551.002

Regular price $17.00 AUD
Regular price Sale price $17.00 AUD
Sale Sold out
Tax included. Shipping calculated at checkout.

These instructions detail the procedure for the removal of a Control 10 Wallplate so that a 18650 E-Port Controller can be installed using an E-Port Wallplate Conversion Plate.


Ideally, this procedure should be carried out by an experienced installer as it is important to ensure that there are no short circuits in the charging system which may damage the E-Port Controller.


You will need to note the positions of the wires on the terminals of the wallplate to ensure the correct operation of the new controller. Be aware of this before proceeding any further with these instructions.


1) Remove the Control10 Wallplate by flipping out the two screw covers and removing any screws.


2) The wallplate should come away from the wall but take note of the positions of the two motor wires connected to the wallplate terminals. As the wires will need to be re-connected to the new E-Port Wallplate in the same order it may help to label them.


(If an In-Wall Charger is used there may be four wires. Two wires are going to the motor and two are coming from the In-Wall Charger. In this instance, extra care must be taken to ensure that the wiring order is correct or it may result in damage to the 18650 E-Port Controller.


3) Screw the Wallplate Conversion Plate into position, using the existing holes and fixings.


4) Use a flat-bladed screwdriver, or small coin, to ease off the cover plate of the E-Port Wallplate.


5) Fit the new E-Port Wallplate by first connecting the wires to the terminals on the back. These will need to be in the same order as the old wallplate, as noted above. Additional wiring instructions can be found in Section 3 of the instructions that are in the Wallplate box.


6) Attach the new Wallplate to the Conversion Plate using the screws provided.
7) A continuity test between all four terminals must be performed to check for any potential short circuits. Refer to OZRoll Information Bulletin 073 for details on continuity testing.
8) Test the operation of the controller. If the shutter is working in the wrong direction then the wallplate has been wired incorrectly. Swap the wires on the inner terminals of the Wallolate (marked M1 and M2). Additional troubleshooting information can be found in Section 4 of the instructions that are in the Wallplate box.


9) Once satisfied that the Controller operation is correct, and that there are no continuity issues, then re-fit the cover plate onto the Wallplate and push the screw covering cap into position.

Paid Pickup (Malaga, WA)

Noted: If you opt for local pickup, kindly make the purchase online first. We will notify you when the item is ready for collection. Usually, it will be immediately available, but in the case of stock shortages, it may take a few days to restock. Please wait for our confirmation before coming.Please be aware that walk-in purchases will be subject to the retail price. If you wish to receive the same price as the online store, kindly place your order online

View full details

Customer Reviews

Based on 2 reviews
100%
(2)
0%
(0)
0%
(0)
0%
(0)
0%
(0)
L
Lucas Campbell

Fantastic service and prompt delivery. Order on Friday and receive it on Monday. Easy to install.

J
Jason
Perfect

Super fast delivery. Exactly what I needed. Will recommend and but again

    Technical Support

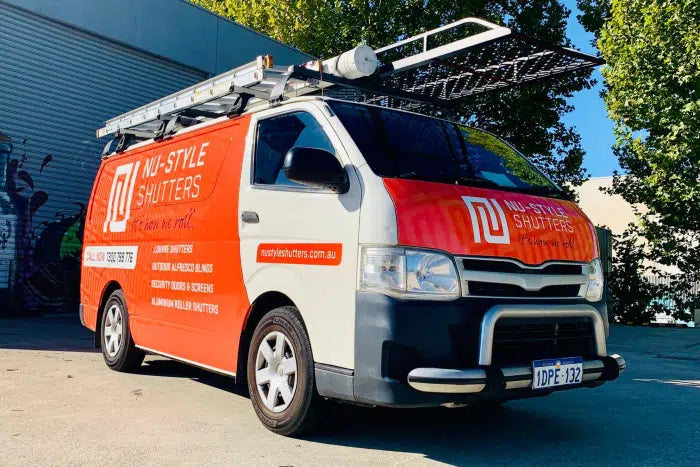
    If tackling your home repair project on your own proves challenging, opting for professional assistance can be a wise choice. Our team of experts is readily available to offer guidance and support:

    To enlist the help of our professionals for your home repair needs, simply visit their website to request roller shutter repair services

    (Please note that technician services are currently limited to Perth Metropolitan Area only.) 

    Request a Service